A seat wall is the most efficient thing you can add to a patio. It seats people without furniture, defines the edge of a space, works as a low retaining edge where the grade changes, holds lighting, and gives a patio the sense of being a room rather than a slab. It also never blows over, never needs storing, and never has to be replaced when the cushions rot.
It’s also the element most often built at the wrong dimensions. A wall two inches too low or six inches too shallow is technically a seat wall and functionally a curb, and nobody sits on it twice.
Thunderbird Design builds seat walls into most of our patio projects, and the details below are the ones that determine whether people actually use it. Fair warning that the specifications matter here more than the aesthetics — a beautiful wall at the wrong height is still a curb.
Get the Dimensions Right
Height: 18 inches, finished. That’s the target, measured to the top of the cap, not the top of the block. Anywhere from 16 to 20 inches is usable, but 18 is where most adults sit comfortably without their knees rising or their feet dangling. This is the number people miss, usually because they built to a block course count and the cap pushed it to 20½, or they stopped a course short at 16.
Depth: 12 to 16 inches. Twelve inches is a perch. Sixteen is a seat. If you want people to sit sideways, set a drink down beside them, or have a second row lean against it, go to 18 and treat the top as a surface as well as a seat.
Length: about three feet per person. Two and a half feet is tight, three is comfortable, three and a half feels generous. A twelve-foot wall seats four adults without anyone negotiating.
Space in front: two and a half to three feet of clear patio. People need room for their legs and room to walk behind a seated person. This is the dimension that catches homeowners out — a seat wall doesn’t just take its own footprint, it takes roughly four feet of patio depth once you account for knees and circulation. Plan the patio size accordingly or you’ll end up with a beautiful wall and no room for a table.
Caps Do More Than Finish the Top
The cap is the part people touch, so it earns disproportionate attention.
Overhang the face by about an inch to an inch and a half. This creates a shadow line that makes the wall look designed rather than stacked, and it sheds water away from the face instead of letting it run down and stain.
Comfort comes from the edge profile. A sharp square arris on a stone cap is uncomfortable after ten minutes. A slight bullnose, a chamfer, or a naturally rounded edge on a thermal-finish stone makes a real difference to how long people stay seated.
Thickness affects proportion. A thin cap on a wide wall looks flimsy; a thick slab cap reads substantial. Two inches or more is a common working range for natural stone.
Material matters for temperature and grip. Dark stone in Colorado’s sun gets genuinely hot. Lighter-colored caps and thermal or textured finishes stay cooler and stay grippier when wet.
Adhere the cap properly. Caps come loose more often than any other part of a seat wall, usually because too little adhesive was used or because it was applied to a dusty surface. This is a five-minute detail that determines whether the wall is still tight in ten years.
Base and Footing on Expansive Clay
This is where Denver-area construction diverges from generic guidance, and it’s where the money either gets spent well or gets wasted.
Our soils are clay-dominated and expansive — they swell when wet and shrink when dry, which means the ground under your wall moves seasonally. How you deal with that depends entirely on whether you build a flexible system or a rigid one.
Flexible systems tolerate movement. Dry-stacked segmental retaining wall block set on a compacted aggregate base moves with the ground and settles back. It doesn’t crack, because there’s nothing rigid to crack. For most freestanding seat walls, a properly compacted aggregate base of adequate depth, built in lifts, is the appropriate foundation — often the same base as the adjacent patio, extended deeper and wider beneath the wall.
Rigid systems need real footings. Mortared natural stone, poured concrete, or anything with a continuous rigid cap behaves as a single unit. When the soil moves under part of it, it cracks. These systems want a proper concrete footing below frost depth, which in the Denver area is commonly taken as around 36 inches — confirm the requirement with your local building department, since it varies by jurisdiction.
The expensive mistake is building a rigid wall on a flexible base. It looks identical on day one and it’s cracked by year three.
Base preparation details that matter: compact in lifts rather than all at once, use geotextile separation fabric over clay subgrade to keep the clay from pumping up into the aggregate, and extend the base beyond the wall footprint on both sides. None of this is visible when the job’s done, which is exactly why it gets skipped.
When a Seat Wall Doubles as a Retaining Edge
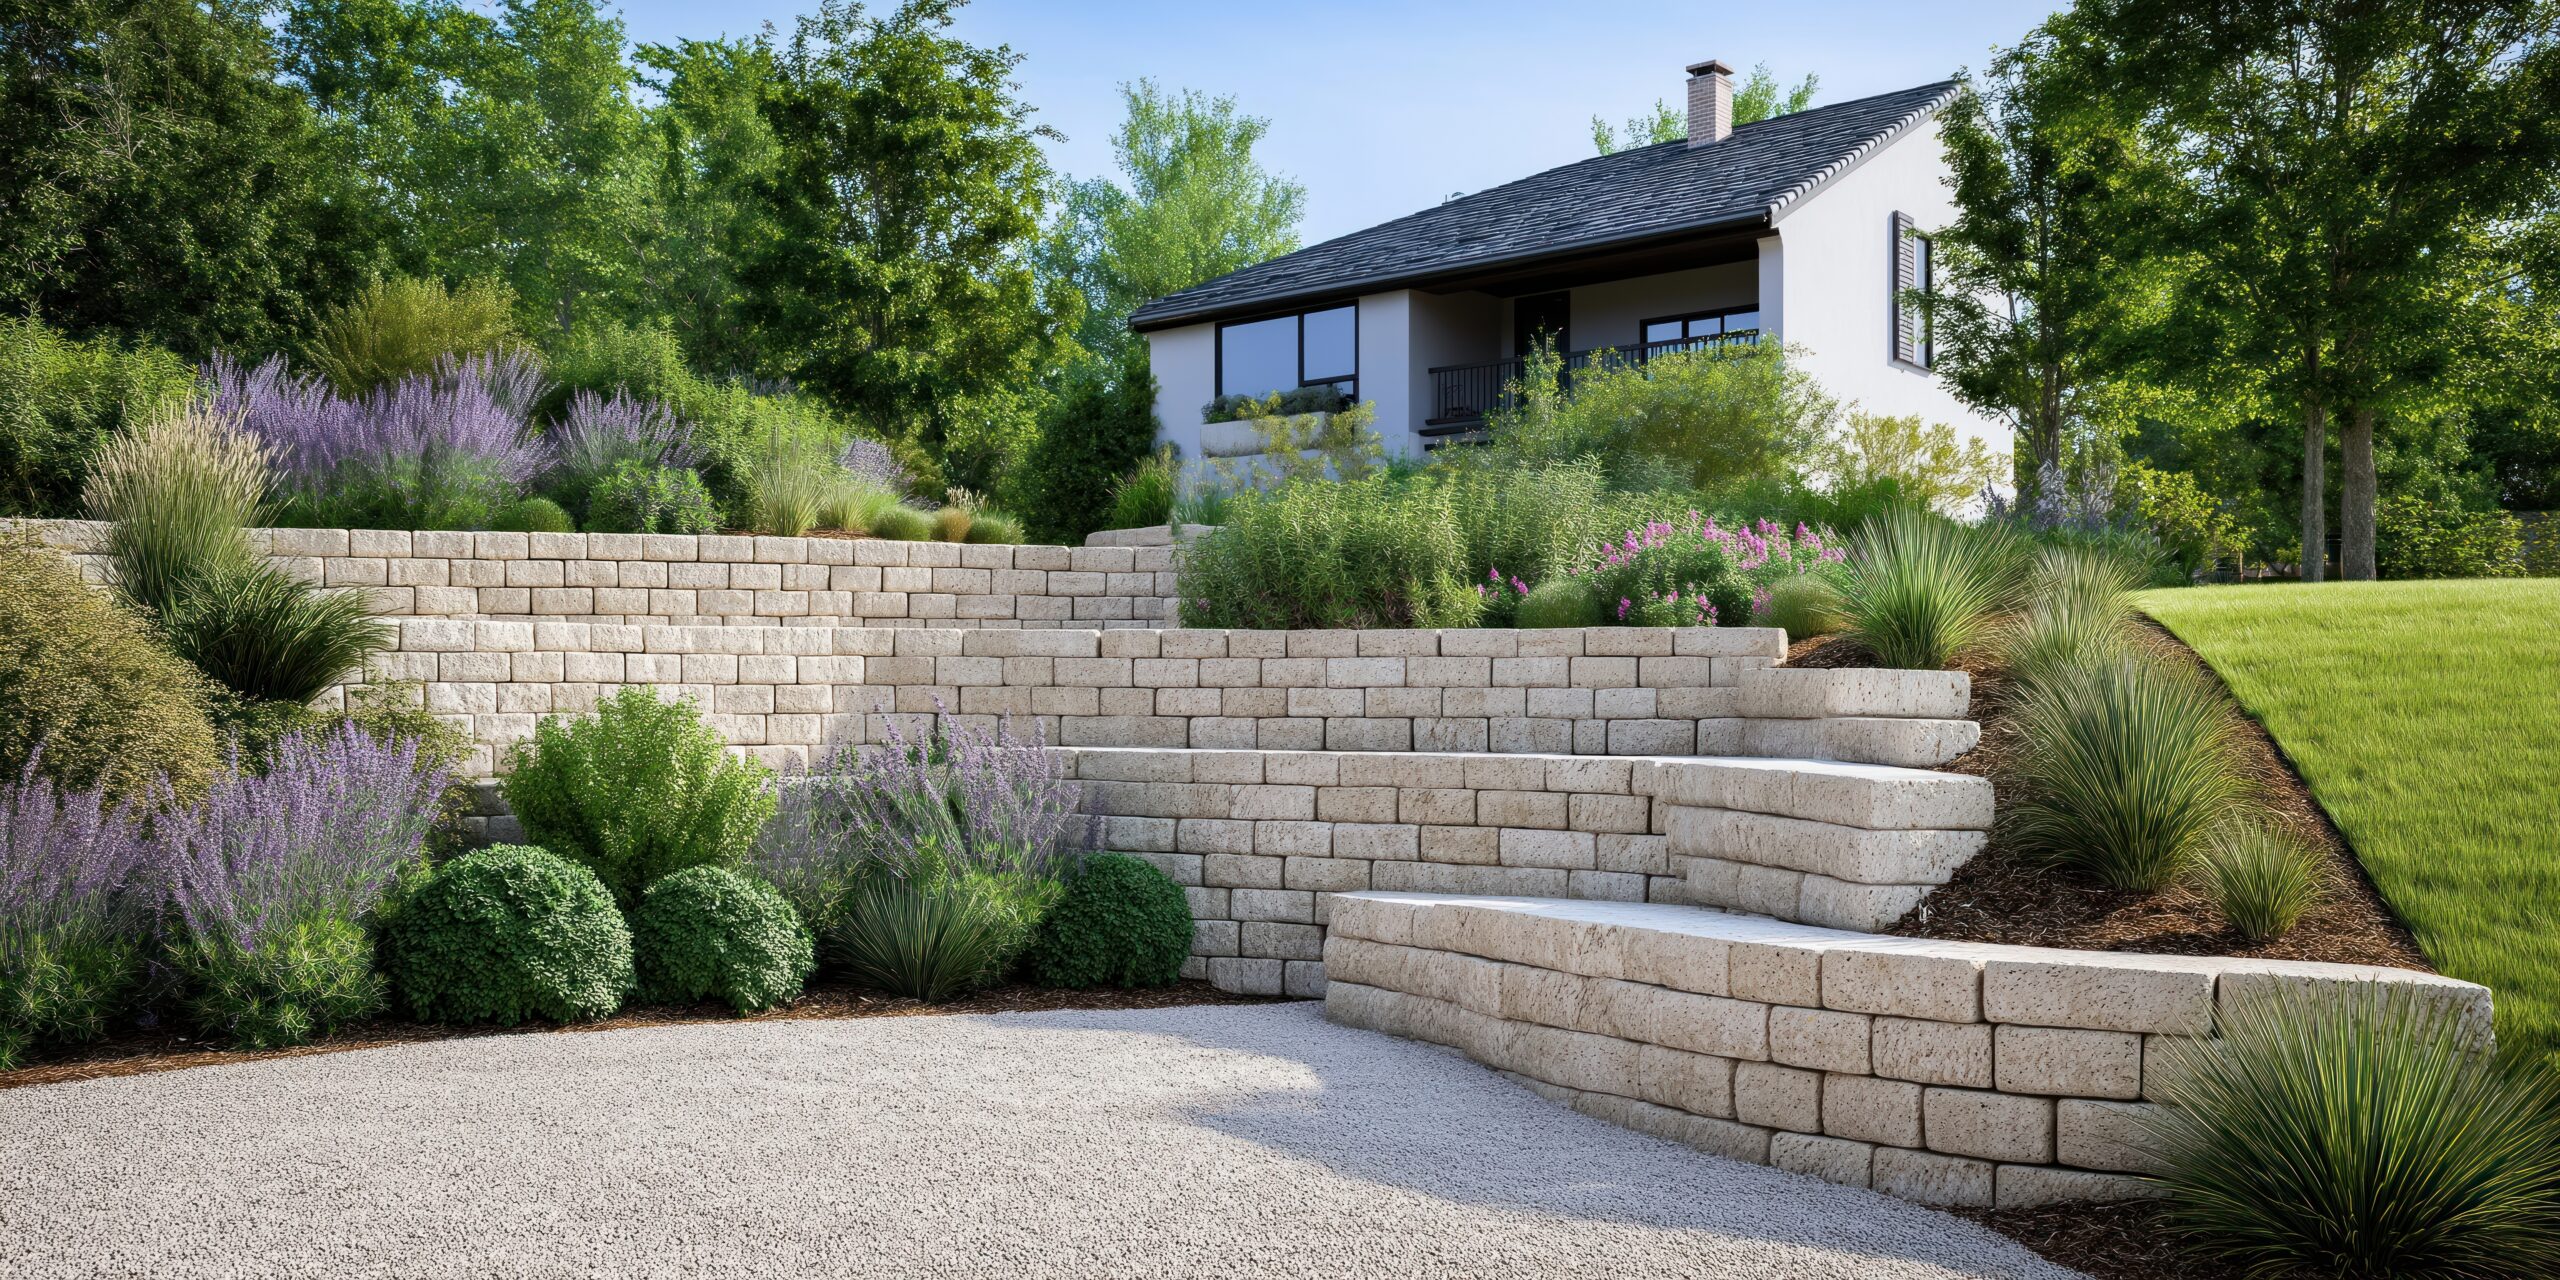
A lot of the best seat walls are doing two jobs. Where a patio sits slightly above or below the adjacent grade, a single wall can hold the grade change and provide seating at the same time — which is more elegant and cheaper than building a retaining wall and then buying furniture.
Three things change when a wall retains:
Drainage behind it becomes mandatory. Saturated clay behind a wall exerts significant pressure, and walls fail from water far more often than from load. That means free-draining aggregate behind the wall, filter fabric, and a drain outlet. We won’t rehash the mechanics here — our guide to drainage on Denver clay soil covers why conveyance matters so much in these soils.
Block selection changes. A freestanding wall is finished on both faces. A retaining wall has a buried face and often a different block system with a setback or geogrid requirement.
Height limits kick in. Low retaining edges are straightforward. Once a retaining wall reaches a certain height — often around four feet in Denver-area jurisdictions — permitting and engineered design generally apply. Anything in that territory belongs on our retaining walls page rather than in a seating conversation.
Seat Walls Around Fire
The most common request, and the one with the most geometry involved.
Distance from the fire. Seating wants to sit roughly three to four feet back from the edge of the fire feature — closer and it’s uncomfortable in summer, farther and you lose the warmth in October, which is when you actually want it. That relationship sets the diameter of the whole arrangement.
Don’t close the circle. A full ring of seat wall around a fire pit looks great in renderings and is awkward in life — nobody can get in or out without climbing, and you can’t pull a chair up. Two or three arcs with gaps is more usable and reads better.
Mix seating types. Seat wall on two sides and movable chairs on the others gives you flexibility for different group sizes.
Coordinate materials with the fire feature itself. A seat wall and a fire pit or fireplace built from unrelated materials looks like two projects. Matching or deliberately complementing the cap and facing ties them together.
Integrated Lighting
Hardscape lights set under the cap, washing down the face or across the patio, are among the most effective lighting moves available — they light the ground plane for safety without putting a fixture in your eye, and they make the wall read as a glowing edge after dark.
The entire trick is planning it before construction. Conduit and wire have to be run through or behind the wall as it’s built. Retrofitting means removing caps, coring block, or surface-mounting fixtures that look like an afterthought.
If lighting is even a possibility, run the conduit. It’s inexpensive during construction and effectively impossible later. Our landscape lighting work is almost always designed alongside the hardscape for this reason.
Material Options and Tradeoffs
Segmental retaining wall block. Consistent, engineered, fast to build, and cost-effective. Modern textured faces look considerably better than the block of twenty years ago. The most common choice for good reason.
Natural stone veneer over a block core. The structural benefits of block with the appearance of full stone. More expensive than plain block, less than full-depth stone, and it can be matched to existing stonework on the house.
Full-depth dry-stacked stone. The best-looking option and the most labor-intensive. Requires genuine craft, and the labor is the cost.
Poured concrete with a finish. Suits contemporary designs, gives clean lines and long spans. Rigid, so footing requirements apply, and cracking is a real consideration in our climate.
What It Costs
Seat walls are typically priced by the linear foot, and the range is wide enough that a single number would be misleading. The variables that move it most: facing material, cap material and thickness, whether the wall retains or stands free, footing requirements, site access, and how many corners and curves are in the run. Curves and returns cost more than straight runs, because both cutting and layout time increase.
For realistic hardscape cost benchmarks in this market, our flagstone patio installation cost guide breaks down how hardscape pricing actually works here, and the same logic applies to wall work. What’s consistent is that a seat wall is a meaningful add to a patio budget and a small one relative to the usable seating it creates.
Common Mistakes
- Building to a course count instead of to 18 inches finished
- A 12-inch-deep wall where the client wanted real seating
- No cap overhang, so the wall looks stacked and stains down the face
- Sharp cap edges that are uncomfortable to sit on
- Sizing the patio without accounting for the four feet a seat wall consumes
- Rigid mortared construction on a flexible aggregate base
- Skipping drainage on the retaining portion
- No conduit for lighting
- One long unbroken run where two sections with a gap would be more usable
- Caps adhered poorly or to a dusty surface
Frequently Asked Questions
How tall should an outdoor seat wall be?
Eighteen inches finished, measured to the top of the cap. Sixteen to twenty inches is the usable range, but 18 is where most adults sit comfortably. Build to the finished height rather than to a block course count.
How deep should a seat wall be?
Twelve to sixteen inches for seating, and 18 or more if you want people to use the top as a surface or sit sideways. Also allow two and a half to three feet of clear patio in front for legs and circulation.
Does a seat wall need a concrete footing?
It depends on the system. Dry-stacked segmental block is flexible and generally sits on a compacted aggregate base. Mortared stone, poured concrete, and other rigid systems should have a concrete footing below frost depth, commonly taken as around 36 inches in this area — confirm locally.
Can a seat wall also be a retaining wall?
Yes, and it’s often the most efficient solution where a patio meets a grade change. It needs drainage behind it, an appropriate block system, and attention to height limits — retaining walls above roughly four feet generally require permitting and engineering in Denver-area jurisdictions.
How much seating does a seat wall provide?
Roughly one person per three linear feet. A twelve-foot run comfortably seats four adults.
How far should a seat wall be from a fire pit?
About three to four feet from the edge of the fire feature to the front of the seating. Close enough for warmth in cool weather, far enough to be comfortable in summer.
Can lighting be added to a seat wall later?
Only awkwardly. Conduit needs to be run during construction. Retrofitting usually means removing caps or surface-mounting fixtures that look added on.
How do I choose a contractor for hardscape work?
Ask specifically about base preparation, compaction in lifts, and drainage on clay, because that’s where corners get cut invisibly. Our guide to choosing a Denver hardscape contractor covers the questions worth asking.
Design It With the Patio, Not After
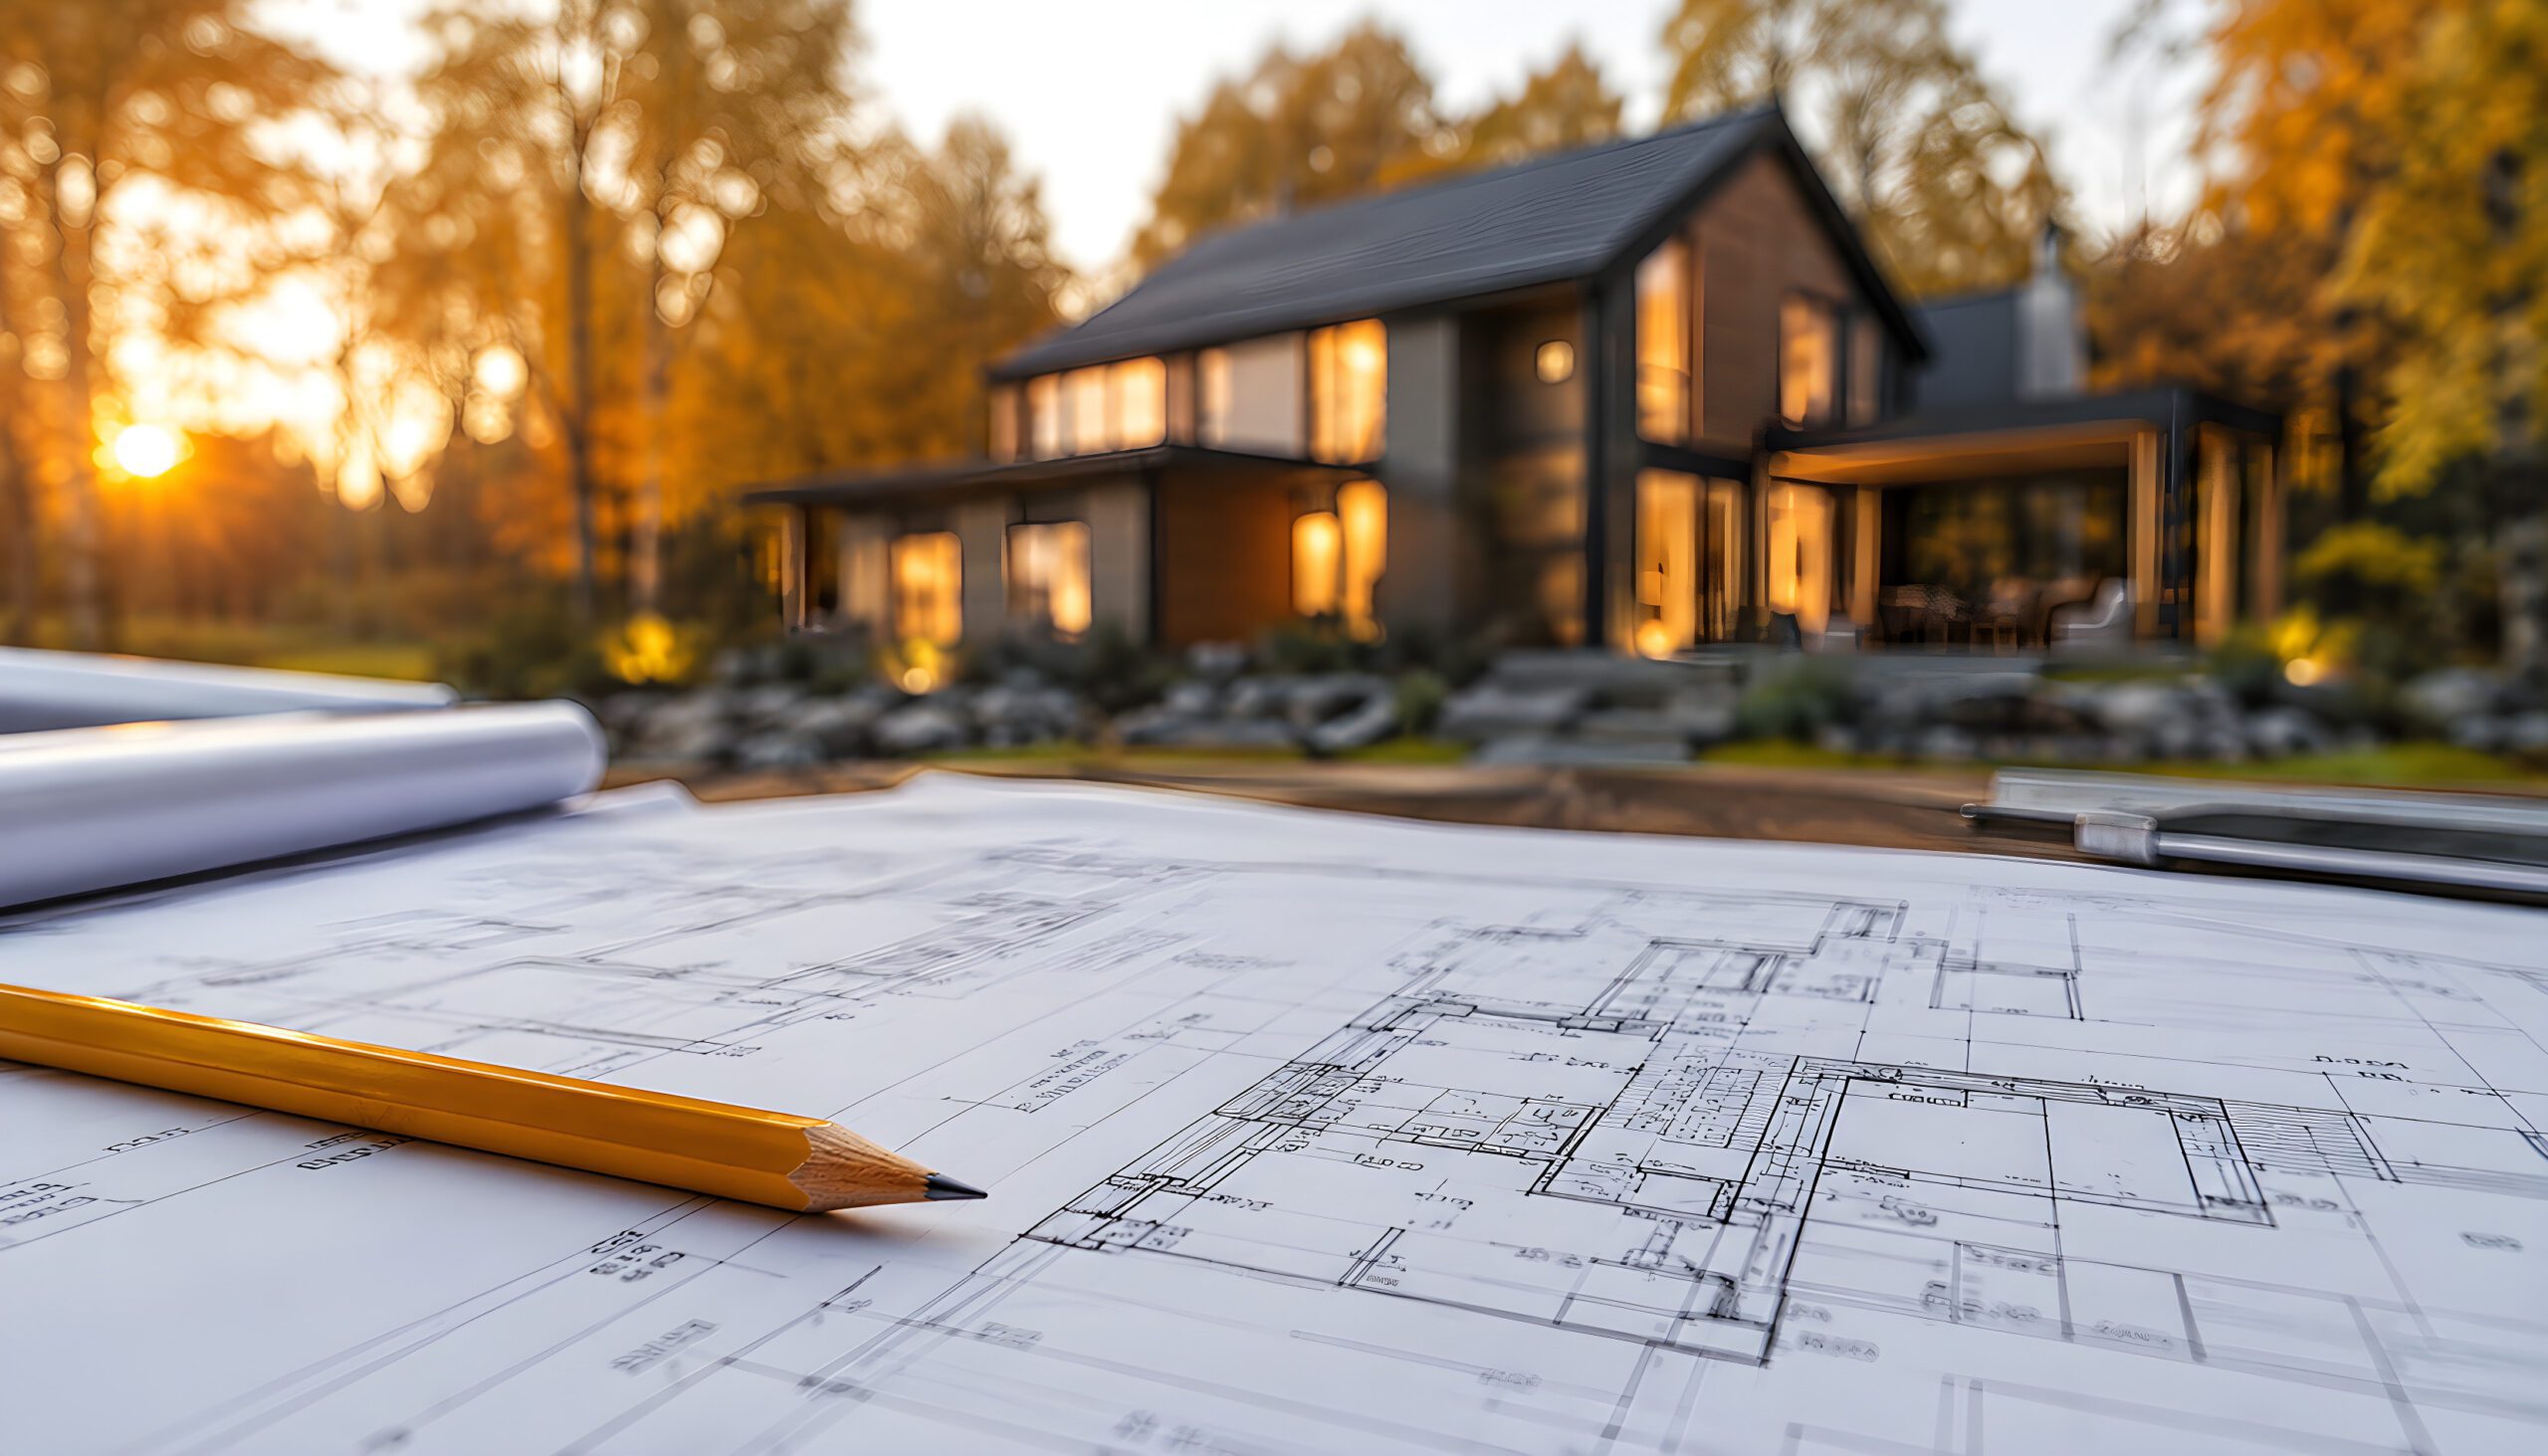
The best seat walls are drawn at the same time as the patio they belong to, because they change the patio’s dimensions, its circulation, and its edges. Added afterward, they always feel slightly wrong — either the patio is too small once the wall eats four feet of it, or the wall runs where a chair needed to go.
If you’re planning a patio for spring, winter is exactly the right time to work out these dimensions. Get in touch and we’ll design the wall and the space together, and you’ll have a buildable plan before the calendar fills.