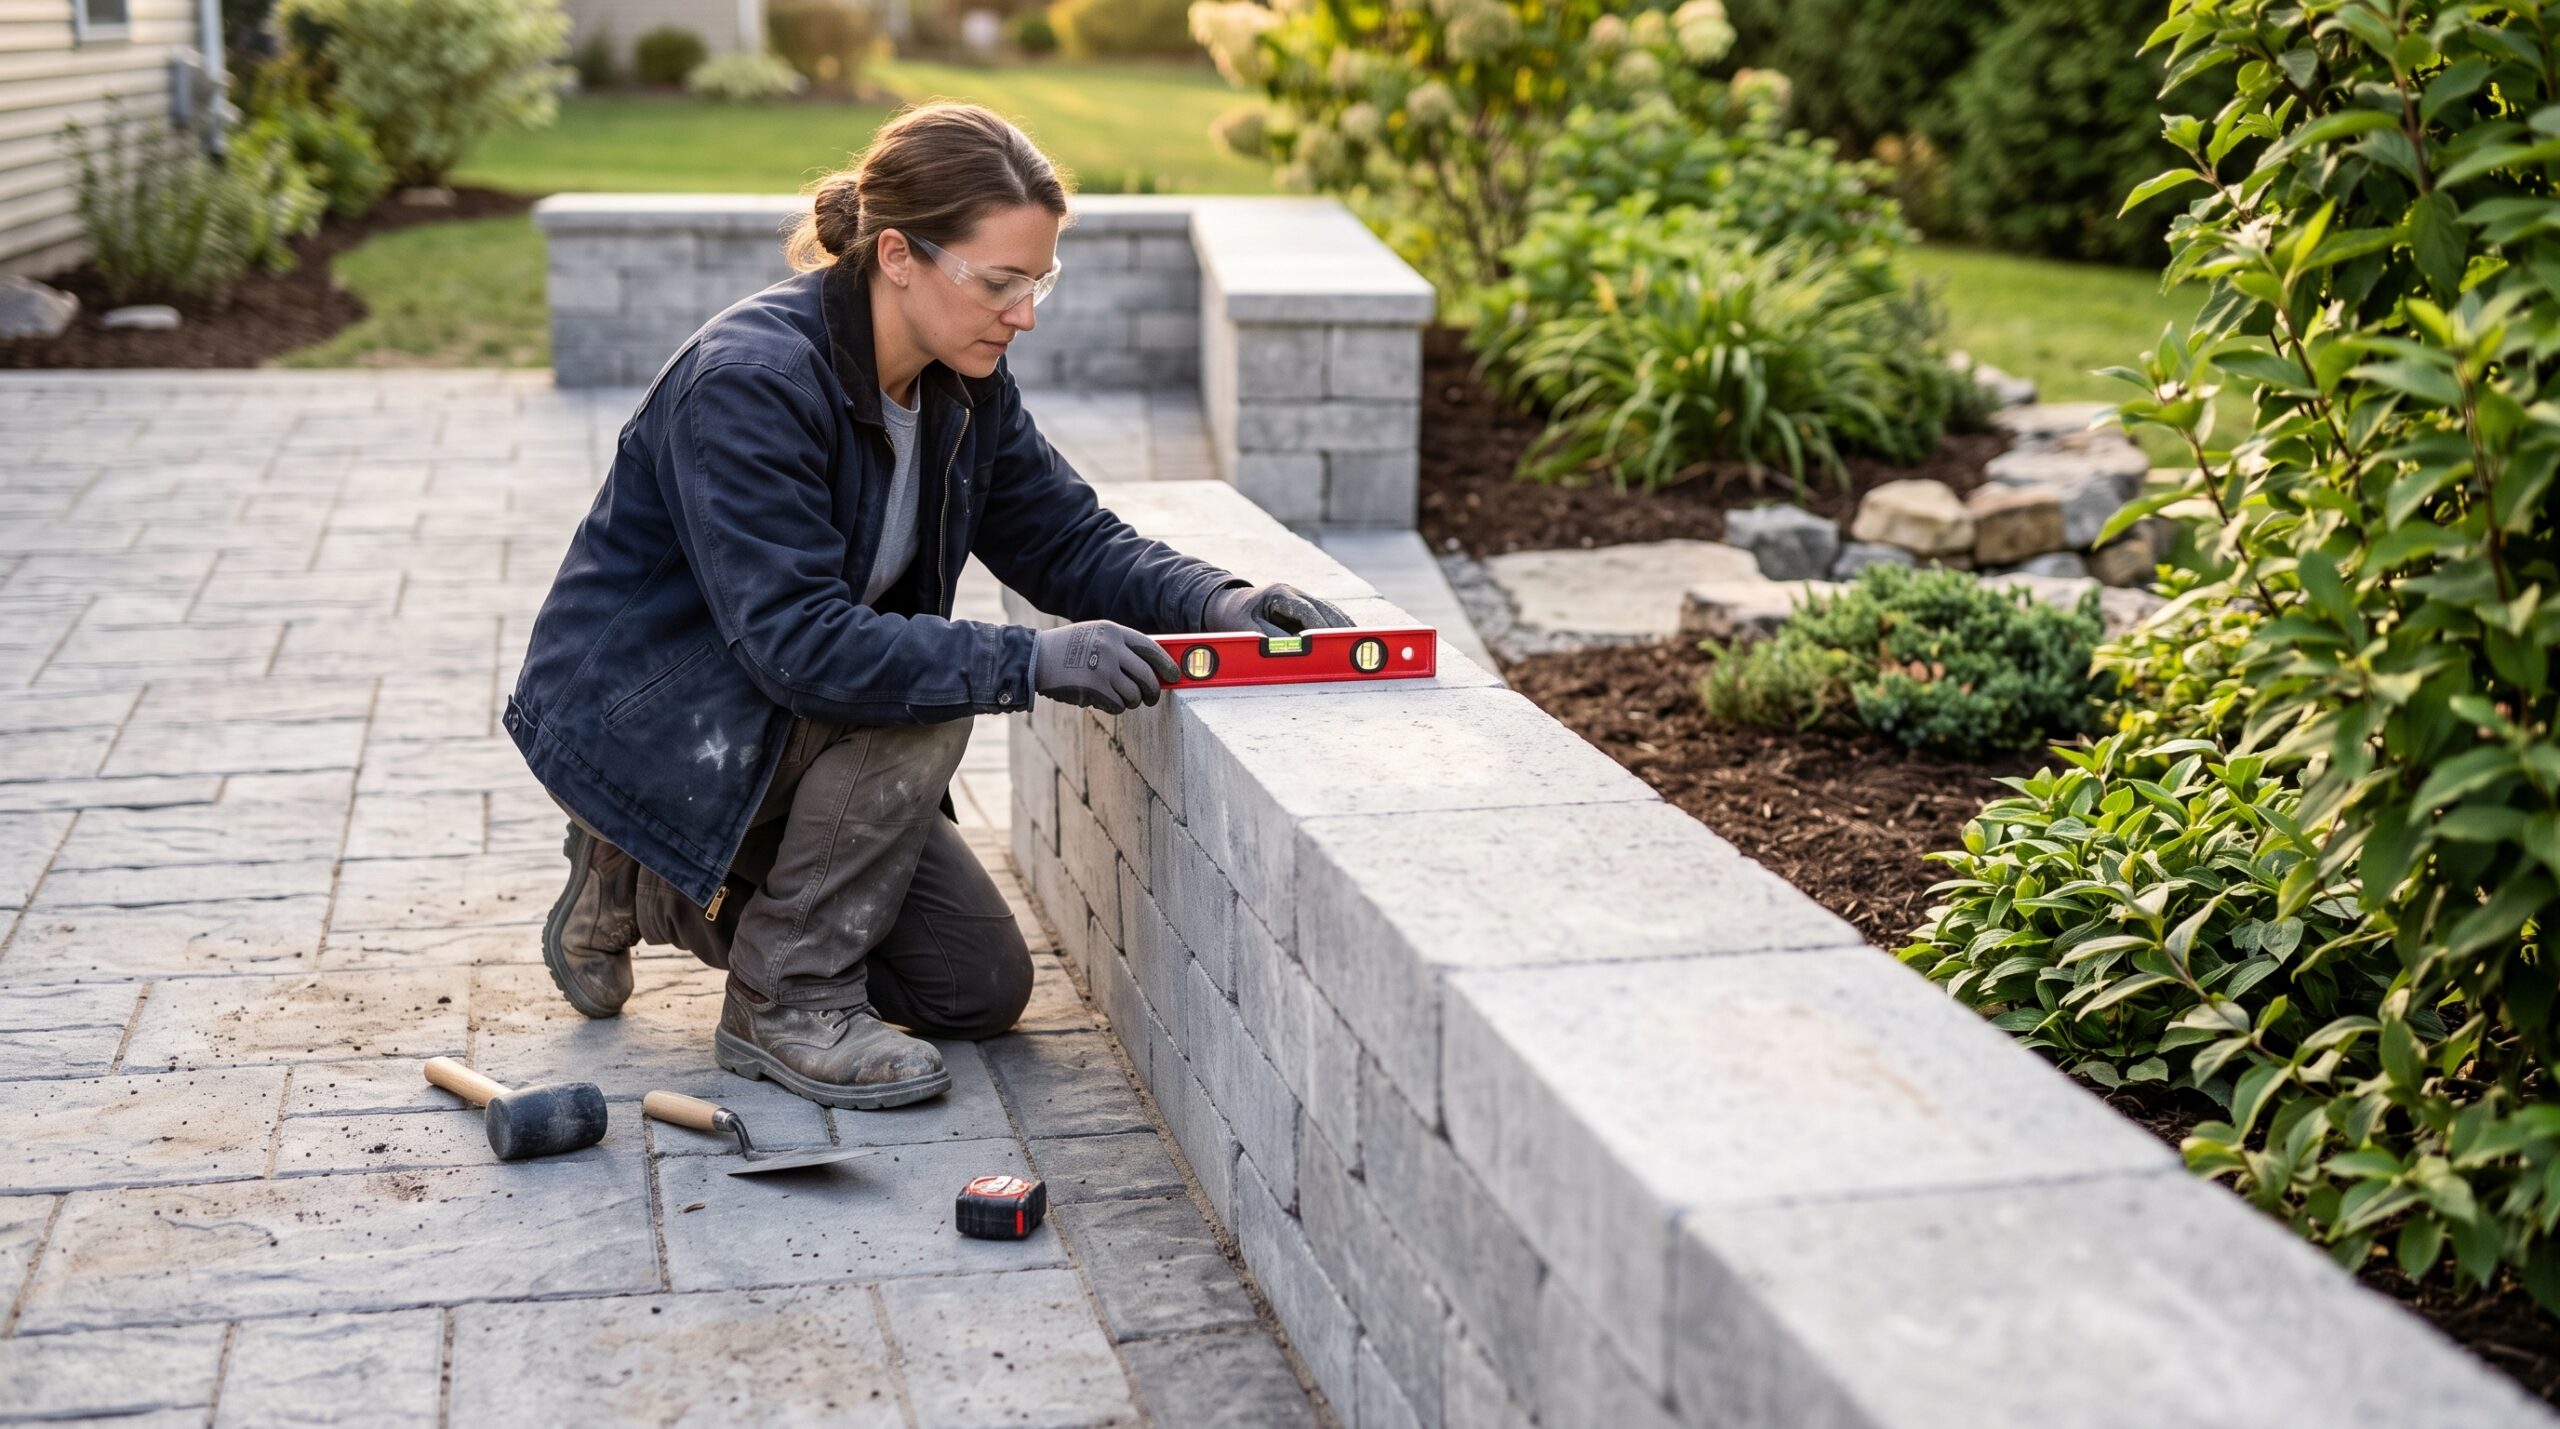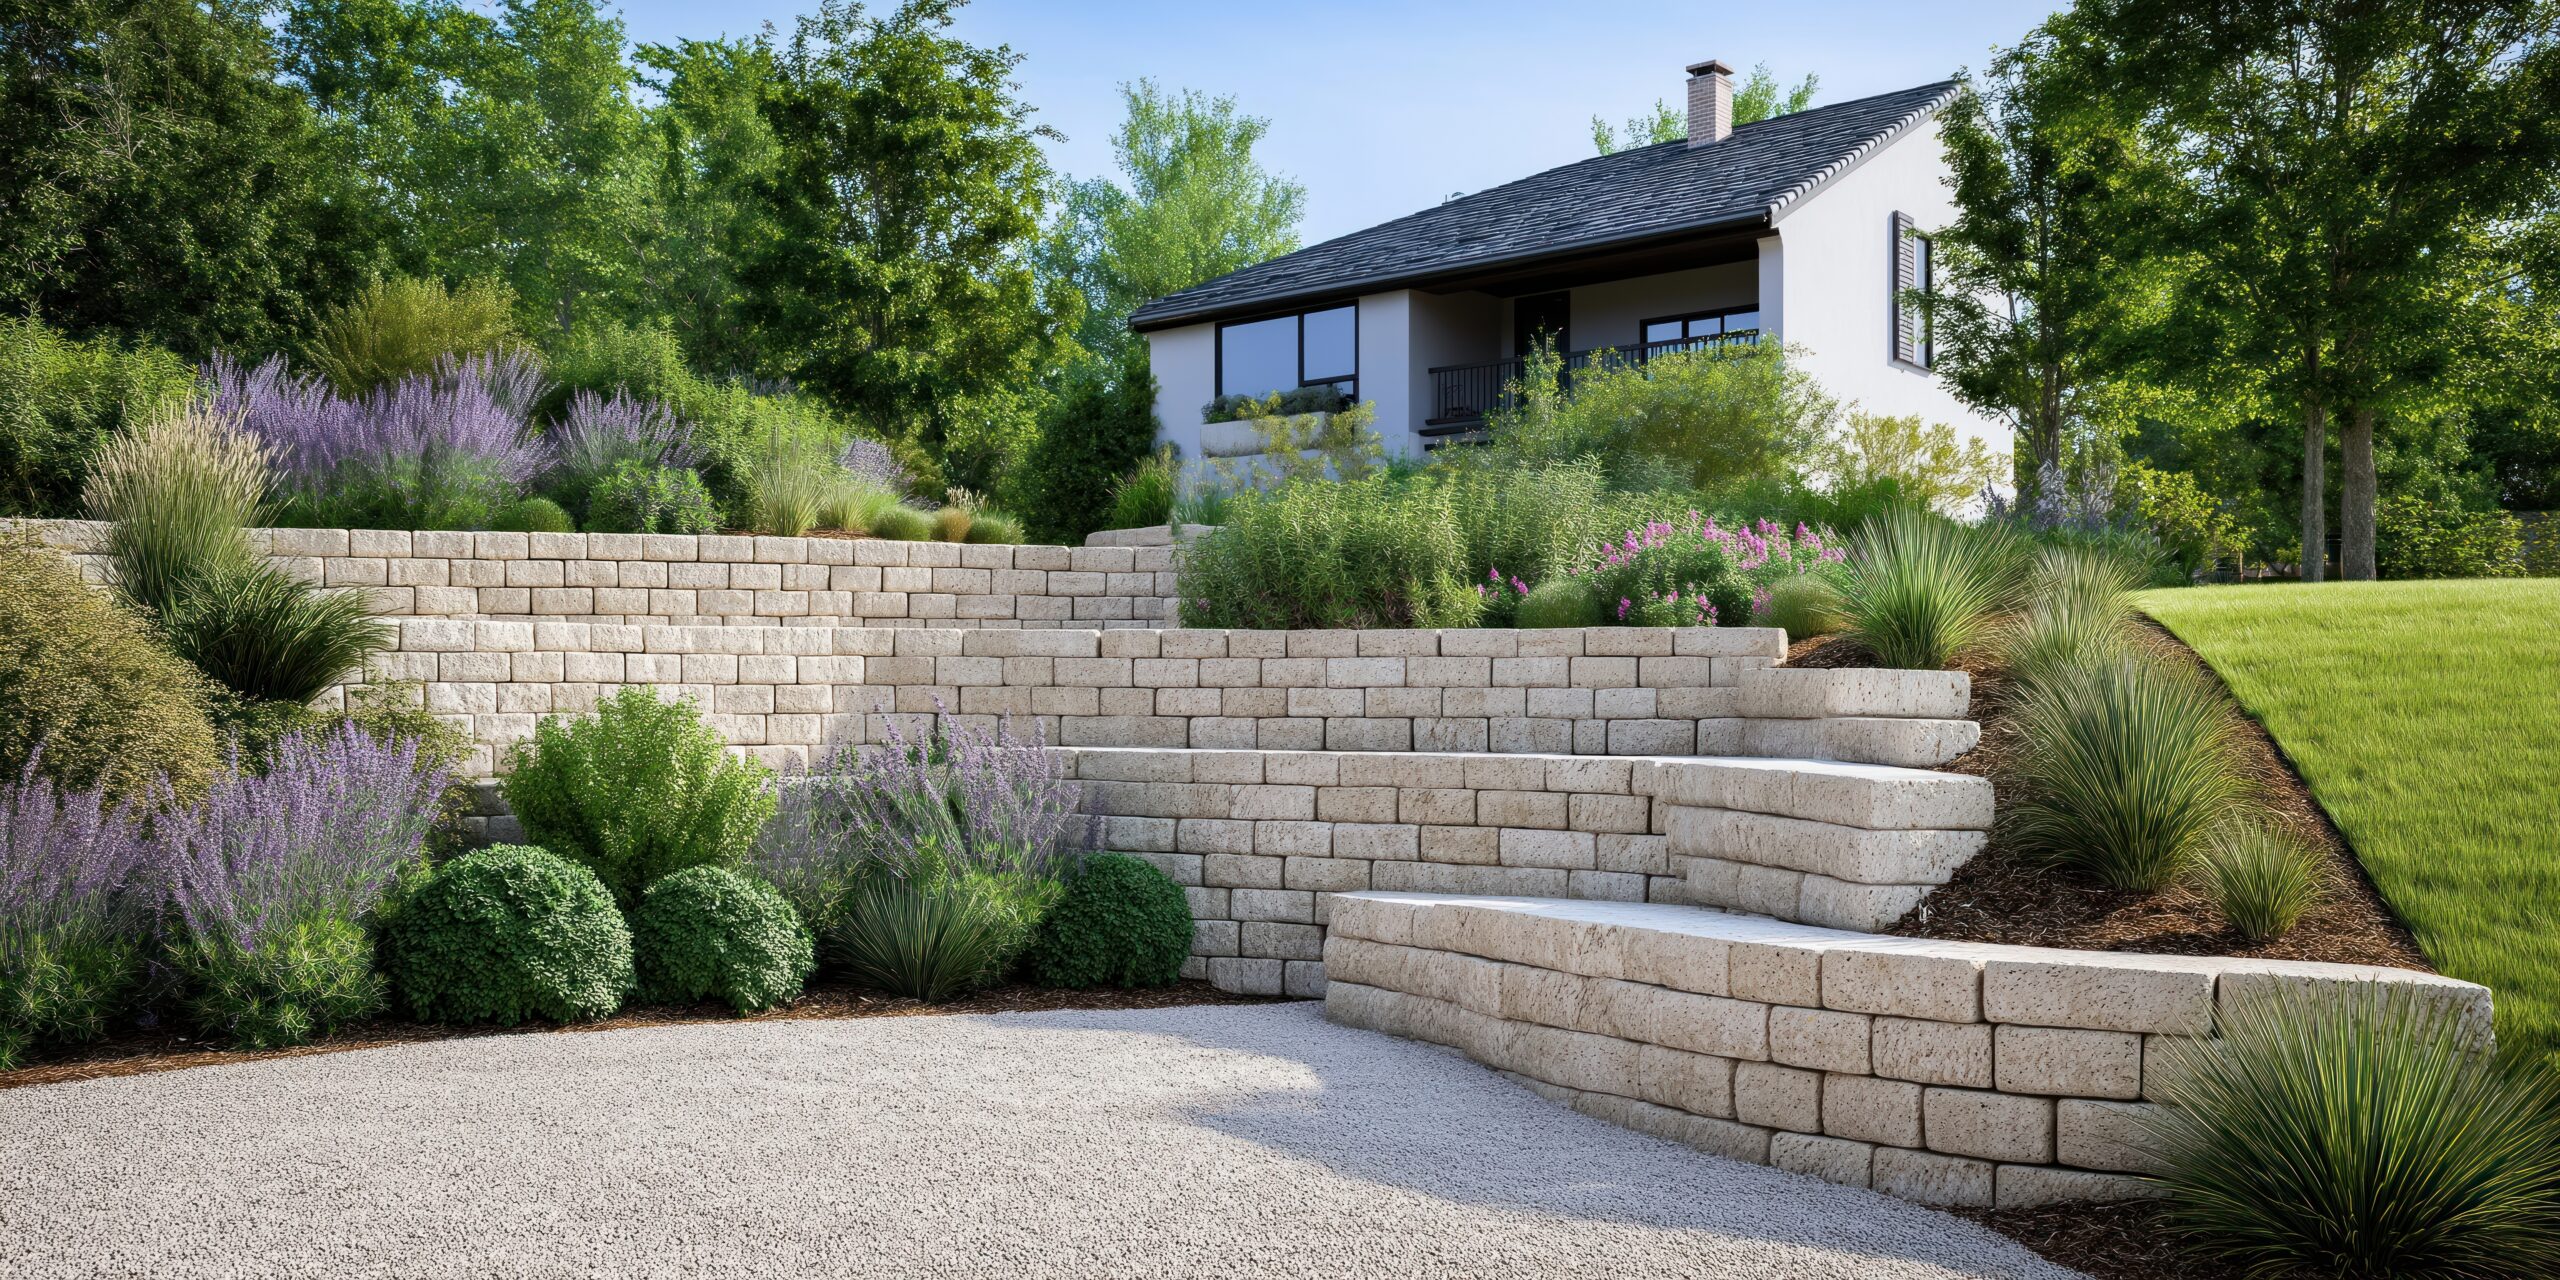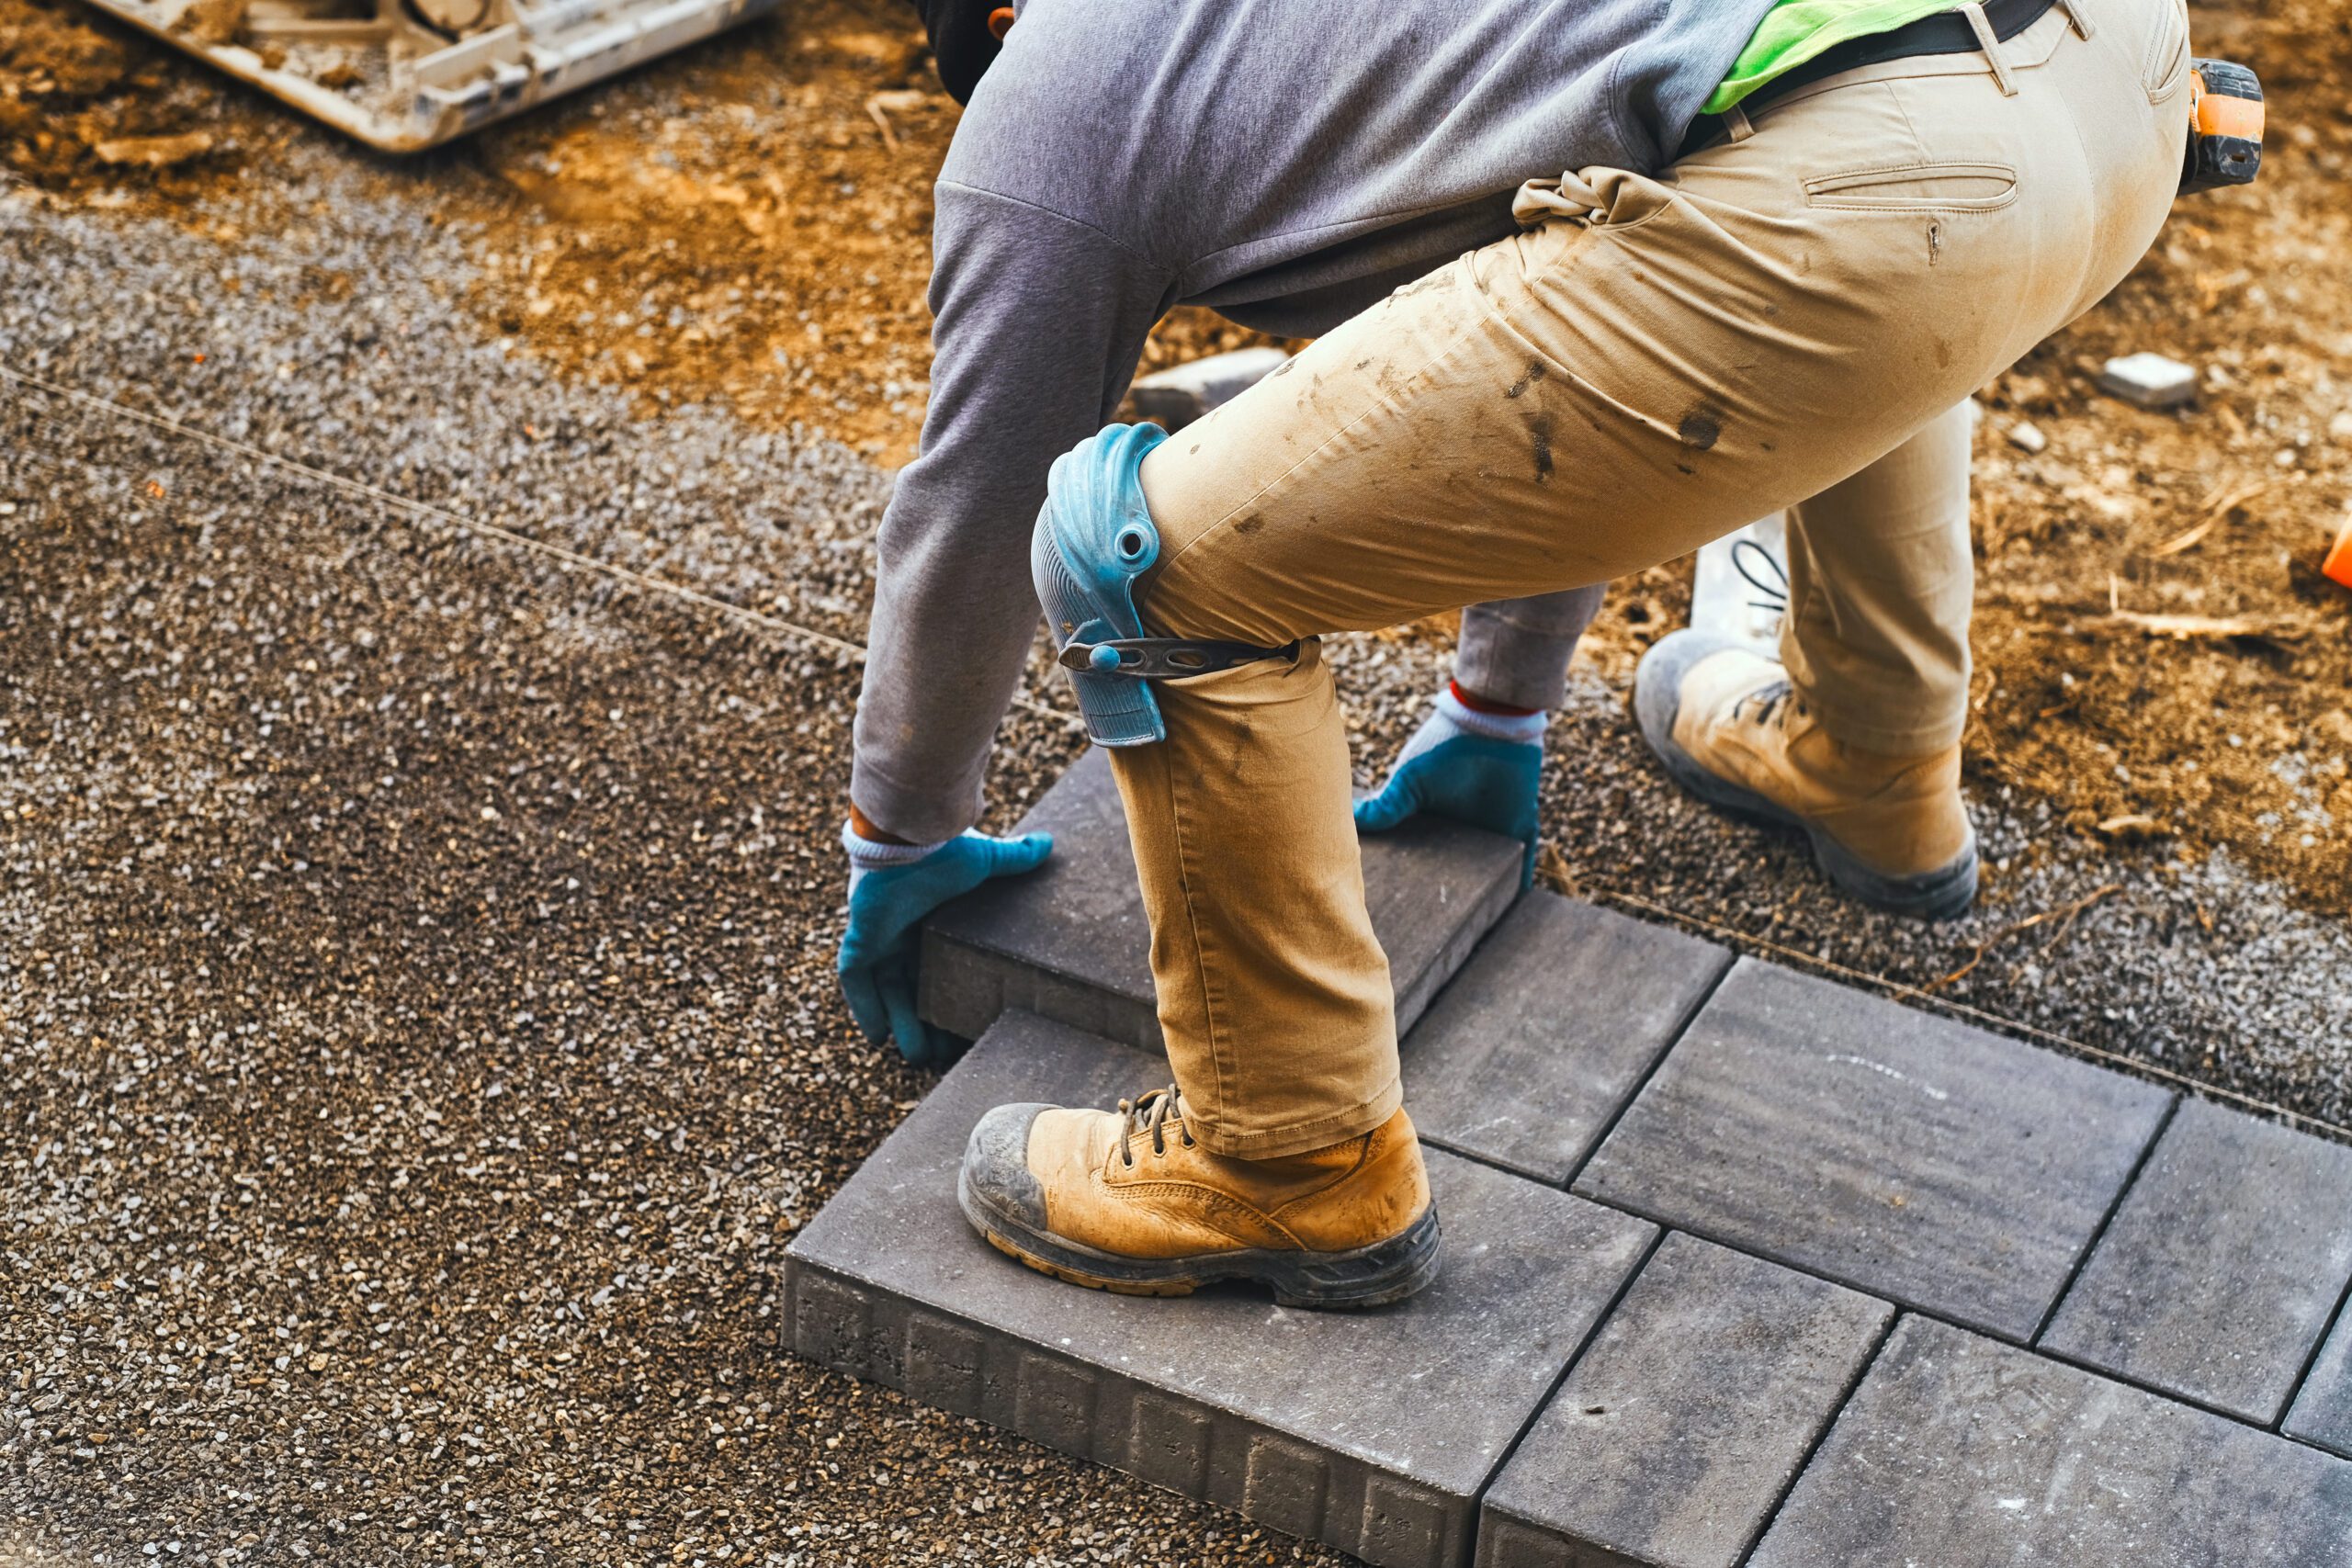
Most of the yards we finish at Thunderbird Design get built across two or three seasons, not one. That’s normal, and it isn’t the problem. The problem is what happens when each season’s work gets designed on its own: a patio one year, a wall the next, planting whenever there’s room in the budget. Four years later the yard is done and it reads as four separate projects that happen to share an address.
A master plan is the document that prevents that. It’s also, in our experience, cheaper than not having one, which is the part homeowners don’t expect.
What Belongs in a Master Plan, and What Doesn’t
A master plan is a complete design for the whole property, drawn once, with construction deliberately broken into fundable stages. A pretty rendering is not a master plan. The document has to be buildable.
What we include:
- A scaled site plan with every element in final position, including the ones three years out
- Grading and drainage intent for the finished condition, not the current one
- Utility routing for irrigation mainline, low voltage lighting and gas, drawn for the completed yard
- Sleeve locations under any hardscape that future utilities will need to cross
- Material selections, so phase three still matches phase one after a product line changes
- Planting drawn at mature spread rather than nursery container size
- A phase breakdown with a cost range attached to each stage
The mature-spread detail matters more than it sounds. Planting drawn at container size is how a bed looks correct in year one and overcrowded by year five, at which point somebody is paying to remove healthy shrubs.
The Phase Order Runs One Direction
Phasing has a fixed sequence. Build out of order and you pay to undo finished work. We’ve been called in to correct every one of these.
| Phase | Scope | Cost of Doing It Later |
| 1 | Grading, drainage, downspout routing | Trenching through finished hardscape and planting |
| 2 | Hardscape, walls, structures, sleeving | Driving equipment across new beds and turf |
| 3 | Irrigation mainline and zones | Cutting patio to reach the far side of the yard |
| 4 | Trees and structural planting | Years of growth lost, which money can’t buy back |
| 5 | Lighting fixtures and finish detail | Minimal if wire was run in phase two |
Grading is always first. If water moves wrong on your lot, that determines where everything else can go, and correcting it later means opening up whatever sits on top. Our guide to grading a yard for drainage covers how to tell whether you have a problem.
The Messy Middle: The Sleeve Nobody Ran
The single most common rework we get called for is a gas line to a fire feature on a patio that was built two years earlier with no sleeve under it.
There are three ways out, and none are good. Route the line the long way around the patio perimeter, which adds material and usually crosses a bed. Lift a section of pavers, trench, and reset, which risks a visible repair line if the field pattern can’t be matched. Or bore underneath, which requires access on both sides and isn’t always possible against a foundation.
Pro tip. Empty conduit is the cheapest insurance in a landscape build. When we set a patio, we run sleeves to anywhere a future utility might need to go: the far side of the yard, a possible fire feature location, the back fence line. The material cost is negligible against opening finished hardscape later.
A master plan catches this because somebody drew the fire feature before the patio got poured. Piecemeal building doesn’t, because in year one nobody was thinking about year three.
Budgeting a Plan Across Several Seasons
Two or three phases across two or three years is the usual pattern. A few things make that work in practice.
Group by equipment, not by appearance
Mobilization is a real line item. Anything requiring a machine on site should happen in one visit where the budget allows, even if the finished results sit in different parts of the yard. Splitting excavation across two years means paying to bring equipment twice.
Expect the numbers to move, not the plan
A plan drawn in 2026 and finished in 2029 will see material pricing change. The design holds; we re-price each phase before it starts. Anyone quoting you a firm number for work three years out is guessing.
Keep the unbuilt areas tidy
Temporary seeding, mulch or crusher fines over future phase areas keeps the yard usable and suppresses weeds between stages. It costs little and it’s the difference between living on a construction site and living in a yard that isn’t finished yet.
Decide Whether You Need a Master Plan
- If you’re touching more than one area of the yard over time, you need the plan. This is most people.
- If the yard is small, you probably need it more, not less. Compact lots have no tolerance for a patio in the wrong place.
- If you have drainage problems, plan first. Sequencing is the whole decision.
- If you want one defined project and genuinely nothing else, you need a design for that project, not a master plan.
- If you may sell within a couple of years, build the phase with visible return and keep the plan for the next owner.
The Bottom Line
Phasing without a plan costs more than phasing with one, and the overrun is concentrated in rework: trenching through finished surfaces, re-establishing damaged planting, and bringing equipment back for work that could have happened in one mobilization. None of those line items appear in the original budget because nobody planned for them.
We draw master plans in the off-season, when there’s time to work through revisions properly. If you want phase one built in spring, winter is the window. Our article on what to expect from a design consultation covers the first meeting, and our project portfolio shows finished work. When you’re ready, get in touch and we’ll walk the property.
About the Author
More about our crew on the Thunderbird Design team page.